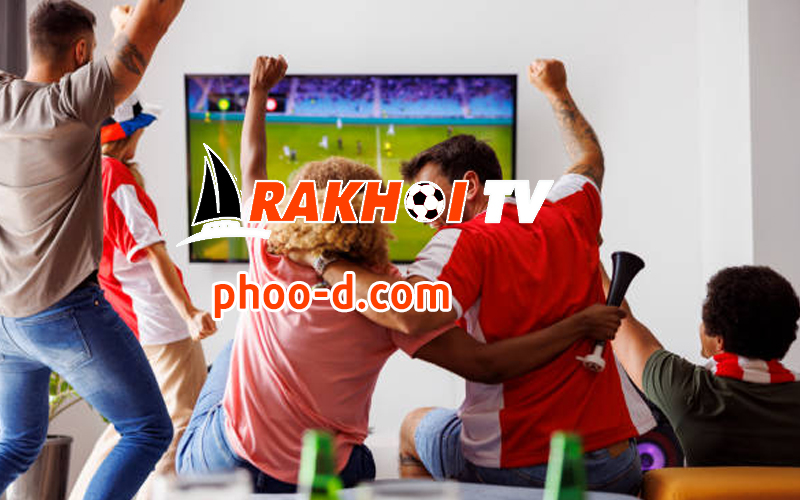
Nếu các bạn đang tìm kiếm một website bóng đá HD với chất lượng cao cùng với trải nghiệm tuyệt vời thì chắc hẳn các bạn không nên bỏ qua Rakhoi TV. Bởi hiện tại đây là trang web xem trực tiếp bóng đá miễn phí tốc độ cao hàng đầu tại Việt Nam.
I. Rakhoi TV là gì?
Với những bạn yêu bóng thì chắc hẳn không xa lạ gì với địa chỉ xem trực tiếp bóng đá – Rakhoi TV. Hiện nay trang web này chính là website được yêu thích hàng đầu với lượt truy cập hàng trăm nghìn mỗi ngày để theo dõi những trận đấu hấp dẫn.

Rakhoi TV chính là địa chỉ xem trực tiếp bóng đá chuyên phát sóng những giải bóng hấp dẫn chất lượng để người xem có thể dễ dàng xem bất cứ trận đấu nào diễn ra mà không lo ngại bất cứ vấn đề gì. Hơn nữa Rakhoi cũng được đầu tư khủng về mặt công nghệ giúp cho trải nghiệm xem bóng của người xem một cách tốt nhất khi ghé thăm địa chỉ trang web của chúng tôi.
II. Mục tiêu phát triển của RakhoiTV
Nhận thấy nhu cầu xem trực tiếp bóng đá ngày càng cao và càng tối ưu cũng như trên thị trường vẫn chưa thể đáp ứng được nhu cầu của người hâm mộ về việc xem trực tiếp những trận đấu trên toàn thế giới. Ngay lập tức đội ngũ chuyên gia biên tập viên và bộ phận IT của chúng tôi đã xây dựng nên website Rakhoi TV – tự hào là trang web xem trực tiếp bóng đá được xây dựng để đáp ứng đầy đủ nhu cầu của người xem một cách tốt và chính xác nhất.
Thêm vào đó chúng tôi ra đời cũng là giải pháp thay thế khi người xem không cần phải xem trực tiếp bóng đá ở những kênh ở đài truyền hình cáp trên TV như trước kia. Với mục tiêu được xây dựng ngay từ đầu thành lập kênh đội ngũ nhân viên của chúng tôi vẫn không ngừng nỗ lực để phát triển kênh và tự hào giờ đây đã trở thành một người bạn quen thuộc của người xem bóng đá hàng ngày.
III. RakhoiTV đang phát sóng những giải đấu nào?
Rakhoi TV luôn tự hào là địa chỉ cung cấp link phát sóng những trận đấu thuộc giải đấu hàng đầu trên thế giới và đương nhiên sẽ có bản quyền phát sóng. “Kim chỉ nam” trong sự phát triển của kênh chính là phát sóng những giải đấu trận đấu có bản quyền đầy đủ và hiện nay chúng tôi vẫn luôn bỏ ra một số tiền lớn để mua bản quyền của các giải đấu hàng đầu như:
Ngoại hạng Anh – Premier League
Cúp C1 châu Âu – Champions League
Cúp C2 châu Âu – Europa League
Giải vô địch bóng đá Tây Ban Nha – La Liga
Giải vô địch bóng đá Ý – Series A
Giải vô địch bóng đá Pháp – Ligue 1
Giải vô địch bóng đá Đức – Bundesliga
Giải vô địch bóng đá Việt Nam – V League
Hơn nữa còn có vô số trận đấu thuộc các giải đấu lớn nhỏ khác như World Cup, Nhật Bản, Hà Lan,…
Vì thế mà anh em có thể dễ dàng xem bất cứ trận đấu nào khi truy cập vào địa chỉ của chúng tôi. Đương nhiên lịch phát sóng của chúng tôi sẽ được cập nhật vào đầu giờ để người xem có thể dễ dàng đón xem được trận đấu mà mình yêu thích mà không lo ngại sẽ bỏ lỡ.
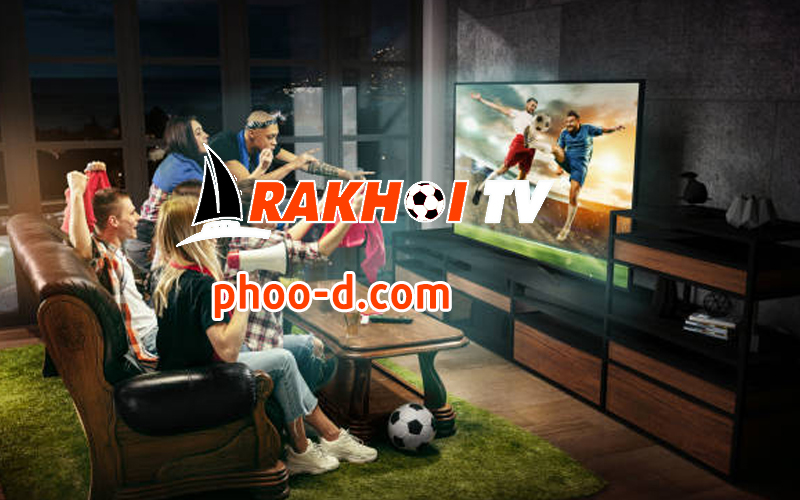
IV. RakhoiTV phát sóng trực tiếp bóng đá chất lượng cao
Không chỉ phát sóng những trận đấu thuộc giải đấu hàng đầu trong và ngoài nước Rakhoi còn tự hào cung cấp một hệ thống trận đấu với chất lượng cao nhất. Chúng tôi đã ứng dụng nhiều công nghệ phát sóng hiện đại nhất hiện nay. Vì thế mà người xem hoàn toàn có thể dễ dàng đón xem được những trận đấu mình yêu thích với chất lượng:
Các trận đấu có độ phân giải hình ảnh cao từ HD trở lên nên có thể đánh giá là cực kỳ sắc nét và các bạn không khi nào bắt gặp được hình ảnh mờ hay bị vỡ.
Bên cạnh đó âm thanh sẽ cực kỳ sống động từng câu từng chữ đến mức các bạn có thể nghe được cả tiếng cổ vũ ngoài sân giống như đang theo dõi ở trên sân vậy.
Chưa hết chúng tôi cũng cung cấp cho người xem một màn hình với kích thước xem đúng chuẩn có thể tương thích với cả máy tính và điện thoại khi xem mà không cảm thấy phiền toái hay khó chịu.
Vì mục tiêu cung cấp một trận đấu trực tiếp hoàn hảo nhất đến người xem mà chúng tôi còn cho phép các bạn tùy chỉnh âm lượng hay kích thước màn hình độ phân giải bất cứ lúc nào bạn muốn.
V. Rakhoi TV cập nhật link xem bóng đá uy tín
Nhiều người dùng hiện nay băn khoăn về vấn đề link xem trực tiếp bóng đá vẫn chưa đáp ứng được, tuy nhiên khi trải nghiệm xem bóng đá tại hệ thống link của Rakhoi TV người xem hoàn toàn có thể yên tâm khi:
Mỗi một trận đấu được chúng tôi phát sóng sẽ có trên 3 đường link với chất lượng hình ảnh khác nhau nếu như link bạn đang xem gặp bất cứ vấn đề gì thì hoàn toàn có thể đổi một cách dễ dàng qua link khác mà không lo ngại bỏ lỡ phút nào.
Và thời gian mà chúng tôi cập nhật link lên website cũng khá sớm cụ thể là trước khi trận đấu diễn ra trước 1 tiếng, người xem hoàn toàn có thể truy cập sớm hơn giúp xem trận đấu một cách dễ dàng.
Bên cạnh đó Rakhoi TV cũng hoàn toàn cam kết với người dùng rằng đường link của chúng tôi cung cấp không bao giờ dính mã độc hay virus nên các bạn hoàn toàn có thể yên tâm khi sử dụng.
VI. Rakhoi phát sóng bóng đá với bình luận lôi cuốn
Điểm lớn nhất thu hút người xem đến với Rakhoi TV có lẽ chính là chúng tôi sở hữu đội ngũ bình luận viên bóng đá hàng đầu với giọng điệu mạch lạc và hài hước vui vẻ giúp người xem hoàn toàn có thể thư giãn và lôi cuốn với trận đấu đang diễn ra. Và đương nhiên những bình luận trận đấu sẽ bình luận bằng tiếng Việt và đều là giọng bình luận của những cái tên được đông đảo anh em yêu bóng yêu thích tại Việt Nam hiện nay.
Chính vì thế mà những trận đấu của chúng tôi đều thu hút lượng người xem khá lớn đông đảo đón xem với tâm trạng rất vui vẻ và phấn khích. Hơn nữa các BLV của Rakhoi TV cũng cực kỳ thân thiện thường xuyên tương tác giao lưu với người xem và các bạn cũng có thể đặt những câu hỏi tại khung chat ở giao diện của chúng tôi. Thực sự đây là một trải nghiệm xem trực tiếp bóng đá cực kỳ thú vị mà không ở đâu có được.
VII. Giao diện của Rakhoi TV đẹp và dễ sử dụng
Một ưu điểm nổi bật của Rakhoi TV chính là giao diện được thiết kế khá đẹp mắt và thông minh. Đặc biệt khi lần đầu truy cập vào trang web của chúng tôi bạn có thể nhìn thấy giao diện được sắp xếp khá khoa học và đẹp mắt với tông màu trầm chủ đạo sẽ khiến người xem dịu mắt theo dõi trận đấu được tốt hơn. Hơn nữa các thông tin cần thiết cũng được chúng tôi sắp xếp khoa học người xem không rành công nghệ cũng có thể dễ dàng tìm kiếm.
Vì thế để có thể theo dõi được các trận đấu mình yêu thích các bạn chỉ cần làm như sau:
Sử dụng máy tính điện thoại có kết nối mạng và truy cập ngay vào Rakhoi TV
Chọn vào Trang chủ
Dựa vào thời gian trận đấu hoặc thông tin về giải đấu mà chúng tôi đã cập nhật ở giao diện chính mà tìm trận đấu muốn xem.
Cuối cùng bạn chỉ cần click vào trận đấu đó và xem ngay, chọn đường link phù hợp với thiết bị và đường truyền của bạn là xong.
VIII. Một số tính năng hữu ích khác của website Rakhoi TV
Rất nhiều người hiện nay vẫn thường xuyên truy cập vào website của chúng tôi mỗi ngày. Không chỉ đơn giản là chúng tôi phát sóng miễn phí với chất lượng cao bóng đá. Hơn hết chính là chúng tôi sở hữu khá nhiều chức năng hữu ích cho người xem như:
- Xem lịch thi đấu bóng đá: Để có thể đón xem những trận đấu mình yêu thích thì các bạn chỉ cần truy cập vào Rakhoi TV và xem lịch thi đấu của toàn bộ trận đấu diễn ra trong ngày nay hoặc mai. Từ đó có thể sắp xếp thời gian hợp lý.
Xem bảng xếp hạng bóng đá: Đương nhiên không ngoại lệ chúng tôi sẽ cập nhật bảng xếp hạng các đội bóng đầy đủ của các giải đấu hàng đầu để các bạn tiện theo dõi.
Xem kết quả bóng đá: RakhoiTV cũng cập nhật kết quả của các trận đấu vừa mới diễn ra để người xem dễ dàng biết tỷ số của các trận đấu mà không cần phải xem trực tiếp. Và không thể nào không thiếu được highlight của các trận đấu vừa diễn ra để những bạn không xem trực tiếp được có thể đón xem những điểm hấp dẫn của trận đấu vừa diễn ra.
Xem tin tức bên lề bóng đá: Hàng ngày đội ngũ biên tập viên của website sẽ cập nhật những tin tức về bóng đá mới nhất như cầu thủ, giải đấu, huấn luyện viên, trước trận đấu chuyển nhượng hay bên lề sân cỏ,..để anh em có thể nắm được tình hình diễn ra ngoài sân cỏ.
Soi kèo nhà cái: Một lý do nữa thu hút người xem đến với Ra Khoi TV chính là các bạn có thể dễ dàng xem và tìm được tỷ lệ kèo của trận đấu sắp diễn ra với đầy đủ thông tin như tỷ lệ kèo tỷ lệ ăn tiền. Bên cạnh đó đương nhiên sẽ không thể thiếu bài soi kèo tips bóng đá miễn phí dành cho người tham gia cá cược tham khảo.
IX. Kết luận
Với những thông tin về Rakhoi TV mà chúng tôi chia sẻ bên trên có lẽ bạn đã biết tại sao trang web chúng tôi lại được đông đảo người xem yêu thích đến vậy. Còn chần chừ gì mà không truy cập ngay website RakhoiTV để trải nghiệm cảm giác xem bóng tuyệt vời thú vị nhất hành tinh nào!